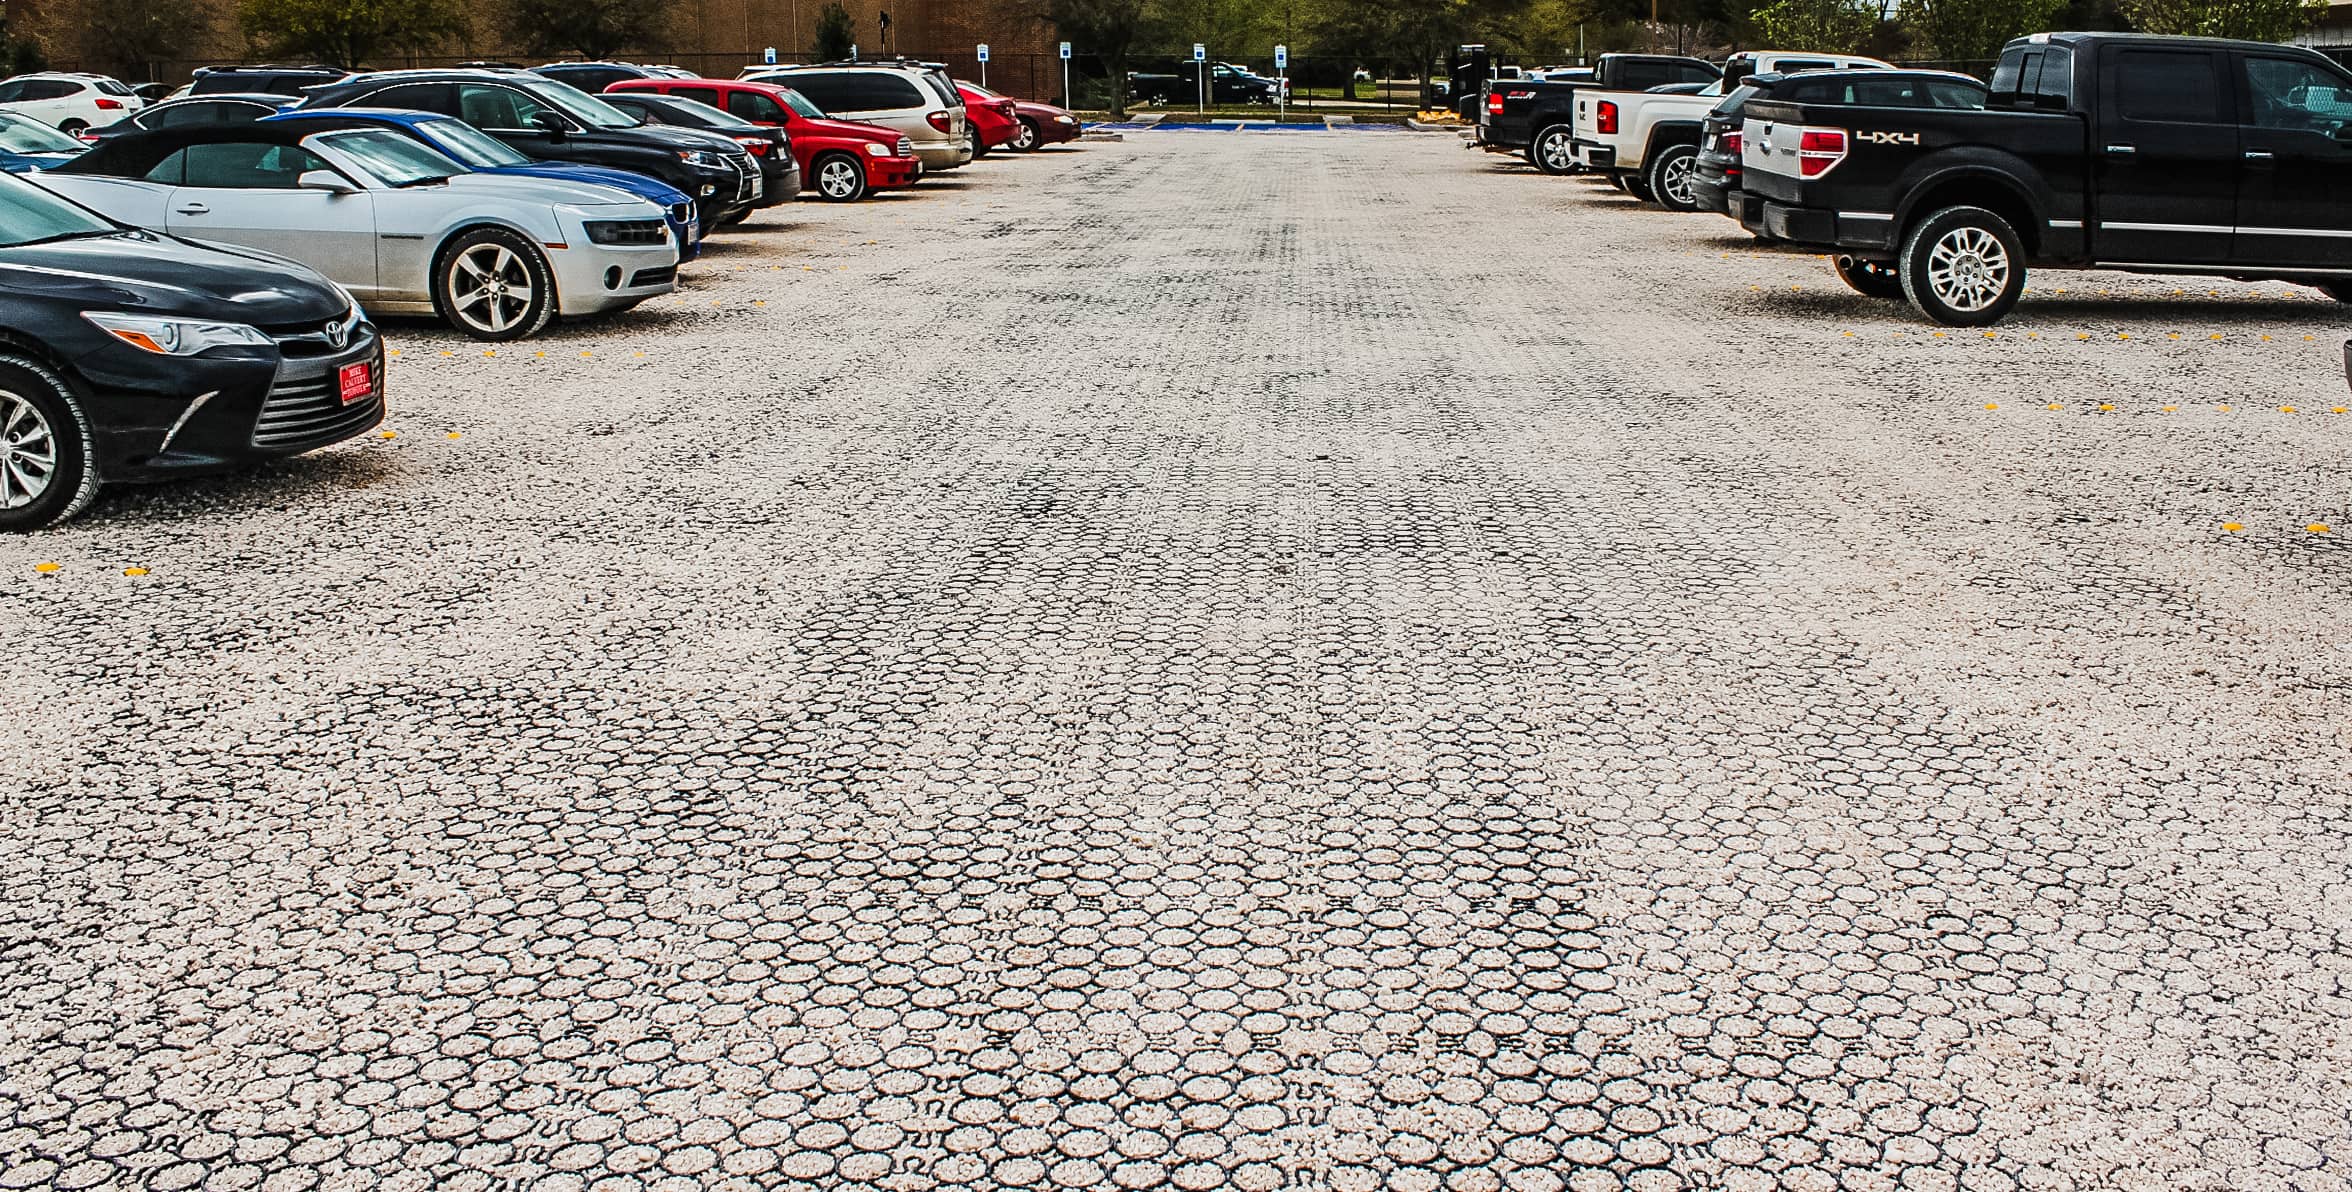
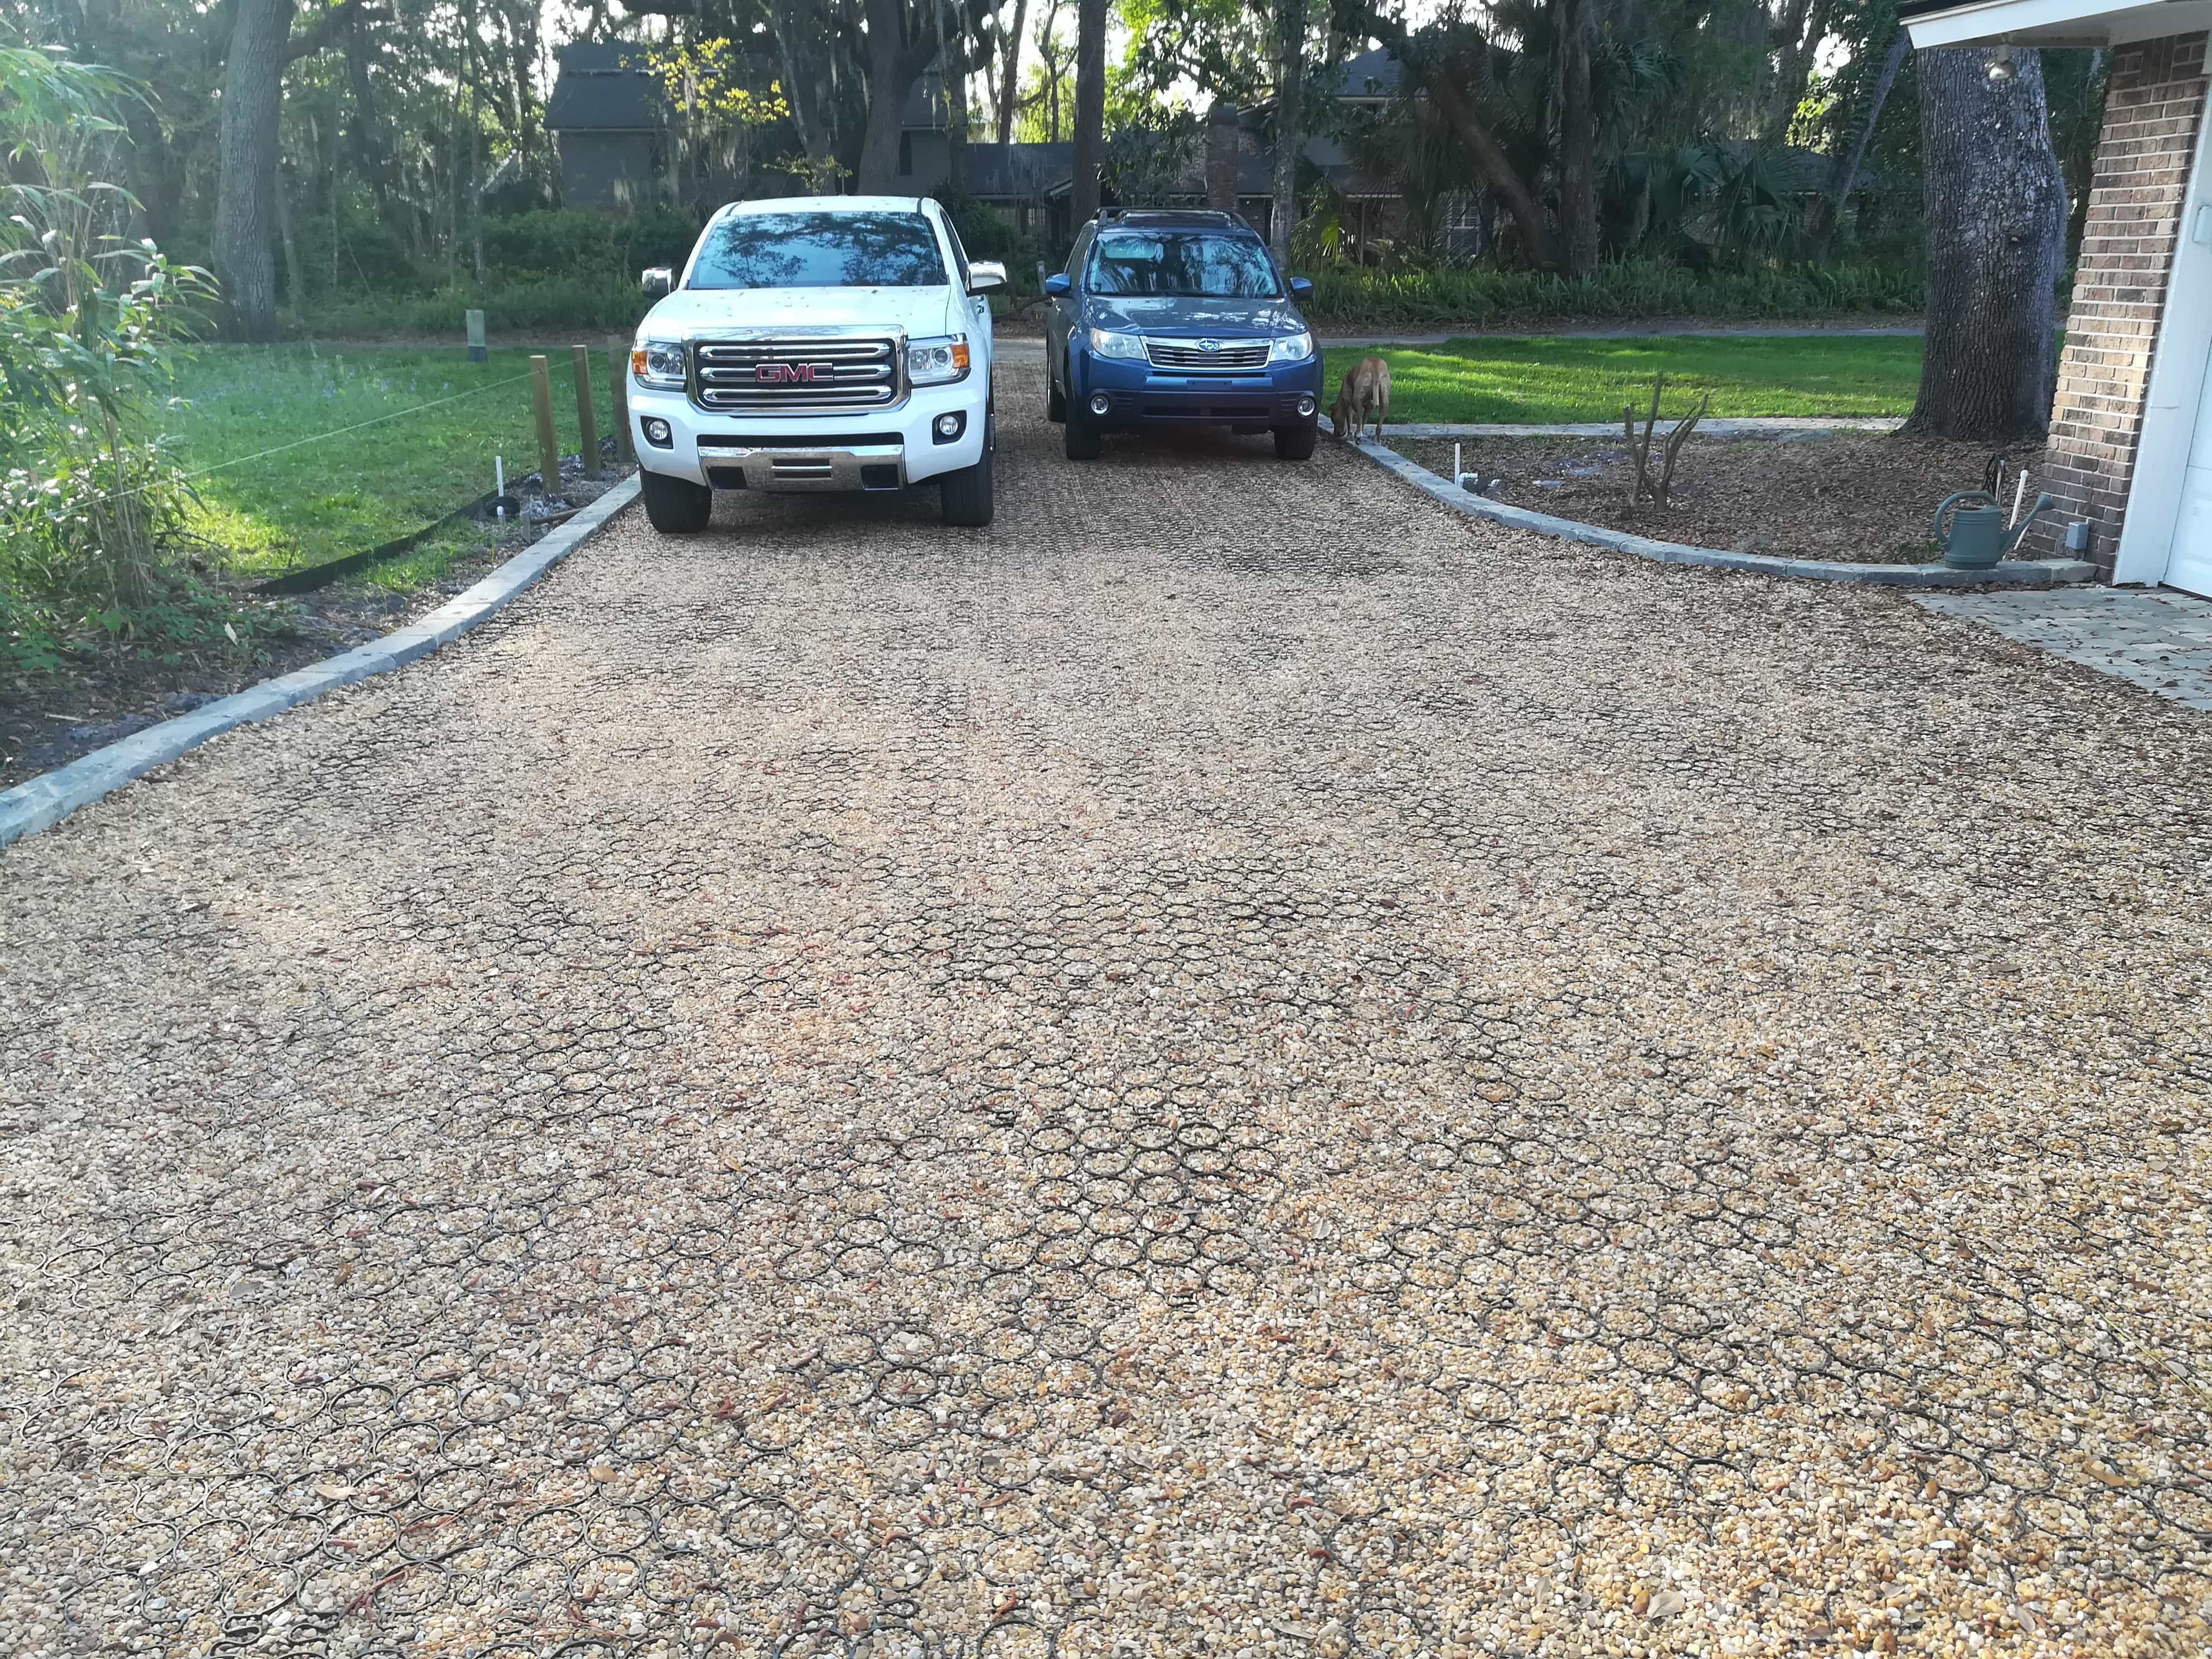
Grass driveways and grass pavers, in general, are growing in popularity – pun intended – and at first impression, you would think it’s for aesthetic reasons alone.
However, there is more to grass pavers than just the additional beauty of nature. To name a few, you have increased drainage and erosion control while maintaining a low impact on the environment. They can be used to create grass driveways, as grass stabilizers for front lawns and backyards, as ground stabilizers for mud control and for added detention area underneath the ground.
For years, concrete and asphalt have been the go-to material for paved surfaces, from driveways to highways, and its strength and low cost sums up the reasons as to why this is true. Homeowners typically use concrete for their driveways and sidewalks and don’t realize that better alternatives are stock piled with added benefits.
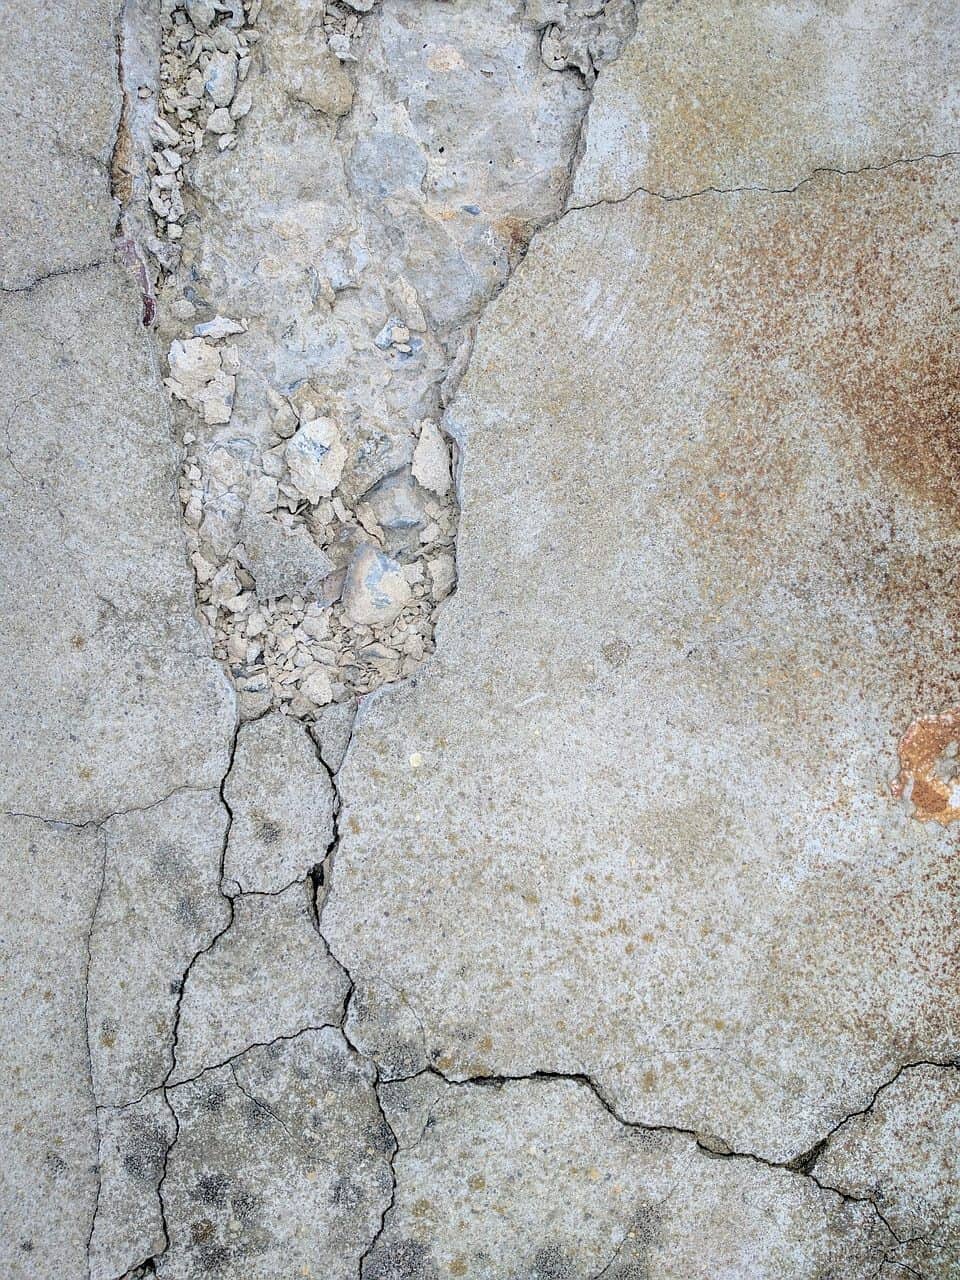
Concrete can make homes look barren and it tends to dull things out. There is less space for vegetation and shrubbery to flourish. Studies show that exposure to plants is beneficial to your health and well-being, increasing mental focus and reducing stress, which means concrete is depriving you of those benefits. Concrete installation takes time, coordination and a perfect environment. Even when the concrete is laid and spread, you sometimes have to wait days to use the surface.
Plastic permeable pavers are ready to use immediately after installation, and can even be driven on before the installation is even finished. Adding more concrete to an area takes away the beauty of nature but grass pavers allows you to keep vegetation and more. Not only can grass grow through the plastic pavers, you can also cut the grid to wrap around trees and bigger plants that can’t be replanted. You also get to add more vegetation but also save living plants. No need to risk your 80-year-old live oak.
Despite the common notion that concrete requires little maintenance after installation, concrete stains over time. Oil leaked from cars, dirt dragged across the driveway, spray paint marks from your experimental crafts and other mishaps eventually start staining the concrete. To remove stains, only pressure washing and scrubbing can remedy the situation. Some stains are almost impossible to get out without a special stain remover, further polluting your neighborhood. When concrete cracks, resurfacing is not an option. Concrete tends to crack over time no matter how properly installed due to heat expansion, root growth, and terrain movement, and to fix it you need to tear the concrete out and start all over again.
Grass pavers are environmentally friendly and allow stormwater runoff to drain back into the ground where it naturally filters out pollutants and rehydrates the earth and vegetation. These permeable systems also incorporate a sub-base, usually 3 – 6 inches deep, that detains water and offsets the negative effects of flooding. Having property that better deals with flooding also racks up the value of your property. After rainfall, the ground becomes saturated with stormwater and lawns become muddy and rutting out the area, creating a treacherous obstacle between you and your car.
Muddy lawns can be a nightmare but grass pavers stabilize the entire surface of your lawn even during a major storm. By providing a layer of solid and level ground for grass to hold onto, flooding won’t cause as much damage. A plastic grid system of permeable pavers also prevents rutting and maintains stability even against heavy rain. Furthermore, if you have furry critters running around, it also can keep them from getting down and dirty in the mud and diggers won’t stand a chance.
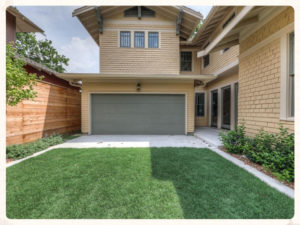
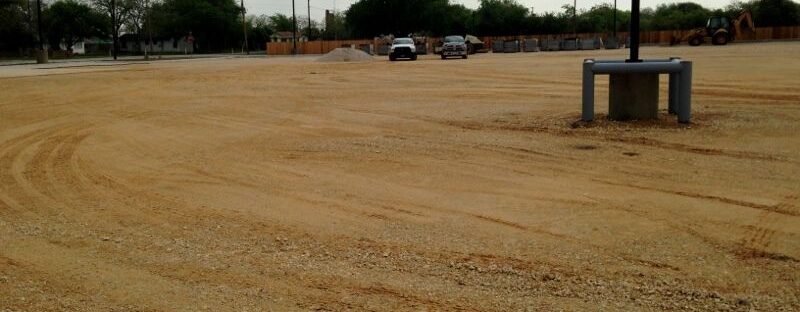
The installation of grass pavement is so easy, it’s almost unfair (no actually it’s totally fair. It’s designed to be easy). The plastic grids interlock like modular building blocks and are slapped on top of a sub-base of 5/8” angular rock for support and detention. Depending on how deep your layer of sub base is, you can get thousands of cubic gallons of added detention space on your property. You will love it, and your municipal government will too. You may even qualify for tax benefits for pervious cover.
Once laid down, interlocked and filled, the pavement is ready to go. That’s it. Concrete, on the other hand, must go through a chemical process after being poured that takes up to a week, depending on weather conditions.
To take care of your grass driveway, all you need to do is cut and water the grass as you would with any other lawn. You may even find yourself needing to water less often. As water permeates the surface, surrounding plants will do what they naturally do and drink it up, reducing the amount of water you need to feed them. This of course depends on how often and how much it rains in your area.
Grass pavers are virtually maintenance-free and if there is any small issue, repairing it is as quick as disconnecting the grid, fixing any sub-terrain issue and replacing the grid.
How to Make a Grass Driveway
- Ensure your location is safe to dig in. Call a utility locating service.
- From street grade level, start digging down about 6 inches in your outlined area, depending on expected load and drainage needs. For drainage needs, spend some time figuring out the slope of your ground and how much detention area you want underneath the grass paver system. Consider the fact that a shorter sub-base means less detention area to hold water.
- Flatten down the soil with a tamper to ensure stability.
- Here is when we start creating the sub-base. Depending on your expected load and drainage needs, lay down 3 – 6 inches of ¾ inch crushed stone, preferably pervious stone such as limestone or granite. Compact this layer with your tamper for a solid foundation.
- Start from the bottom of your driveway and start placing the grid about an inch below street level. Cover the entire area with the grid and snap the pieces together. Do not cut pieces to fit into odd shapes until the grid is completely laid down.
- Once the grid is completely connected and laid down, fill in the hollow space of the grid with loam and smooth it out with a rake or push broom.
- To fit the grid in organically-shaped areas, outline trim marks on the plastic paver to cut with a reciprocating saw and attach it to the rest of the grid.
- To help compact the soil, water the grid system down.
- After you’ve completed all the previous steps, you can now place down your choice of sod across the grid. If you want to choose another type of grass, you can opt to plant grass seed instead. Keep the area watered until the grass begins to sprout.

Click here to view our Step-By-Step installation guides.
Let Your Creative Juices Flow
Laying down a grass driveway was probably a lot easier than you expected. Too easy you may want a little bit of challenge. Take on a new challenge by creating a beautiful landscape to go with your grass driveway. You can also turn your backyard into a grass pavement for added benefits.
- Make an Entrance – Create a rustic look with a white gate and white picket fence for guests to feel right at home before stepping onto your doorstep.
- Stone or Gravel Walkway – Establish a walking path in your grass driveway for a more padded ground. Sprinkle gravel into the grass paver grid or use plastic pavers engineered for stone tile insertion. Completely customizable with your choice of rock, color and shape.
- Floral Walkway – Flowers add color and vibrancy to absolutely anything. Decorate your entrance and pathways with your favorite flowers and coordinate the colors to your liking.
- Garden Courtyard with a Path – Choosing the location of your garden is up to you. Whether out front or in your backyard, build a magnificent garden courtyard with a winding path you can customize yourself. Get creative and fill in the grid with gravel and design a unique path for visitors of your garden to discover.
Maintenance of grass driveways is virtually absent but it does require occasional checkups. Always do monthly inspections of your lawn and grass driveway during the first few months after installation and then once a year. If you need to make a repair, just disconnect the damaged part of the grid and lay down new pieces as a replacement.
