Are you thinking about building a DIY walkway on your property? Creating a charming garden path or a sturdy pathway to your front door can be a rewarding project that enhances your home’s curb appeal.
The best part? You don’t need to be a professional to get it done.
In this guide, we’ll walk you through every step of a DIY walkway installation using TRUEGRID® permeable pavers. Let’s dive in!
Before You Begin Your DIY Walkway
Installing a walkway isn’t just about laying pavers. There’s actually a bit of prep work and planning you have to do before you get started. Here are a few of the things you should take care of before you start your do-it-yourself walkway:
Tools and Materials
To successfully install a DIY walkway, you’ll need to gather the right tools and materials. Here’s what you’ll need to get started:
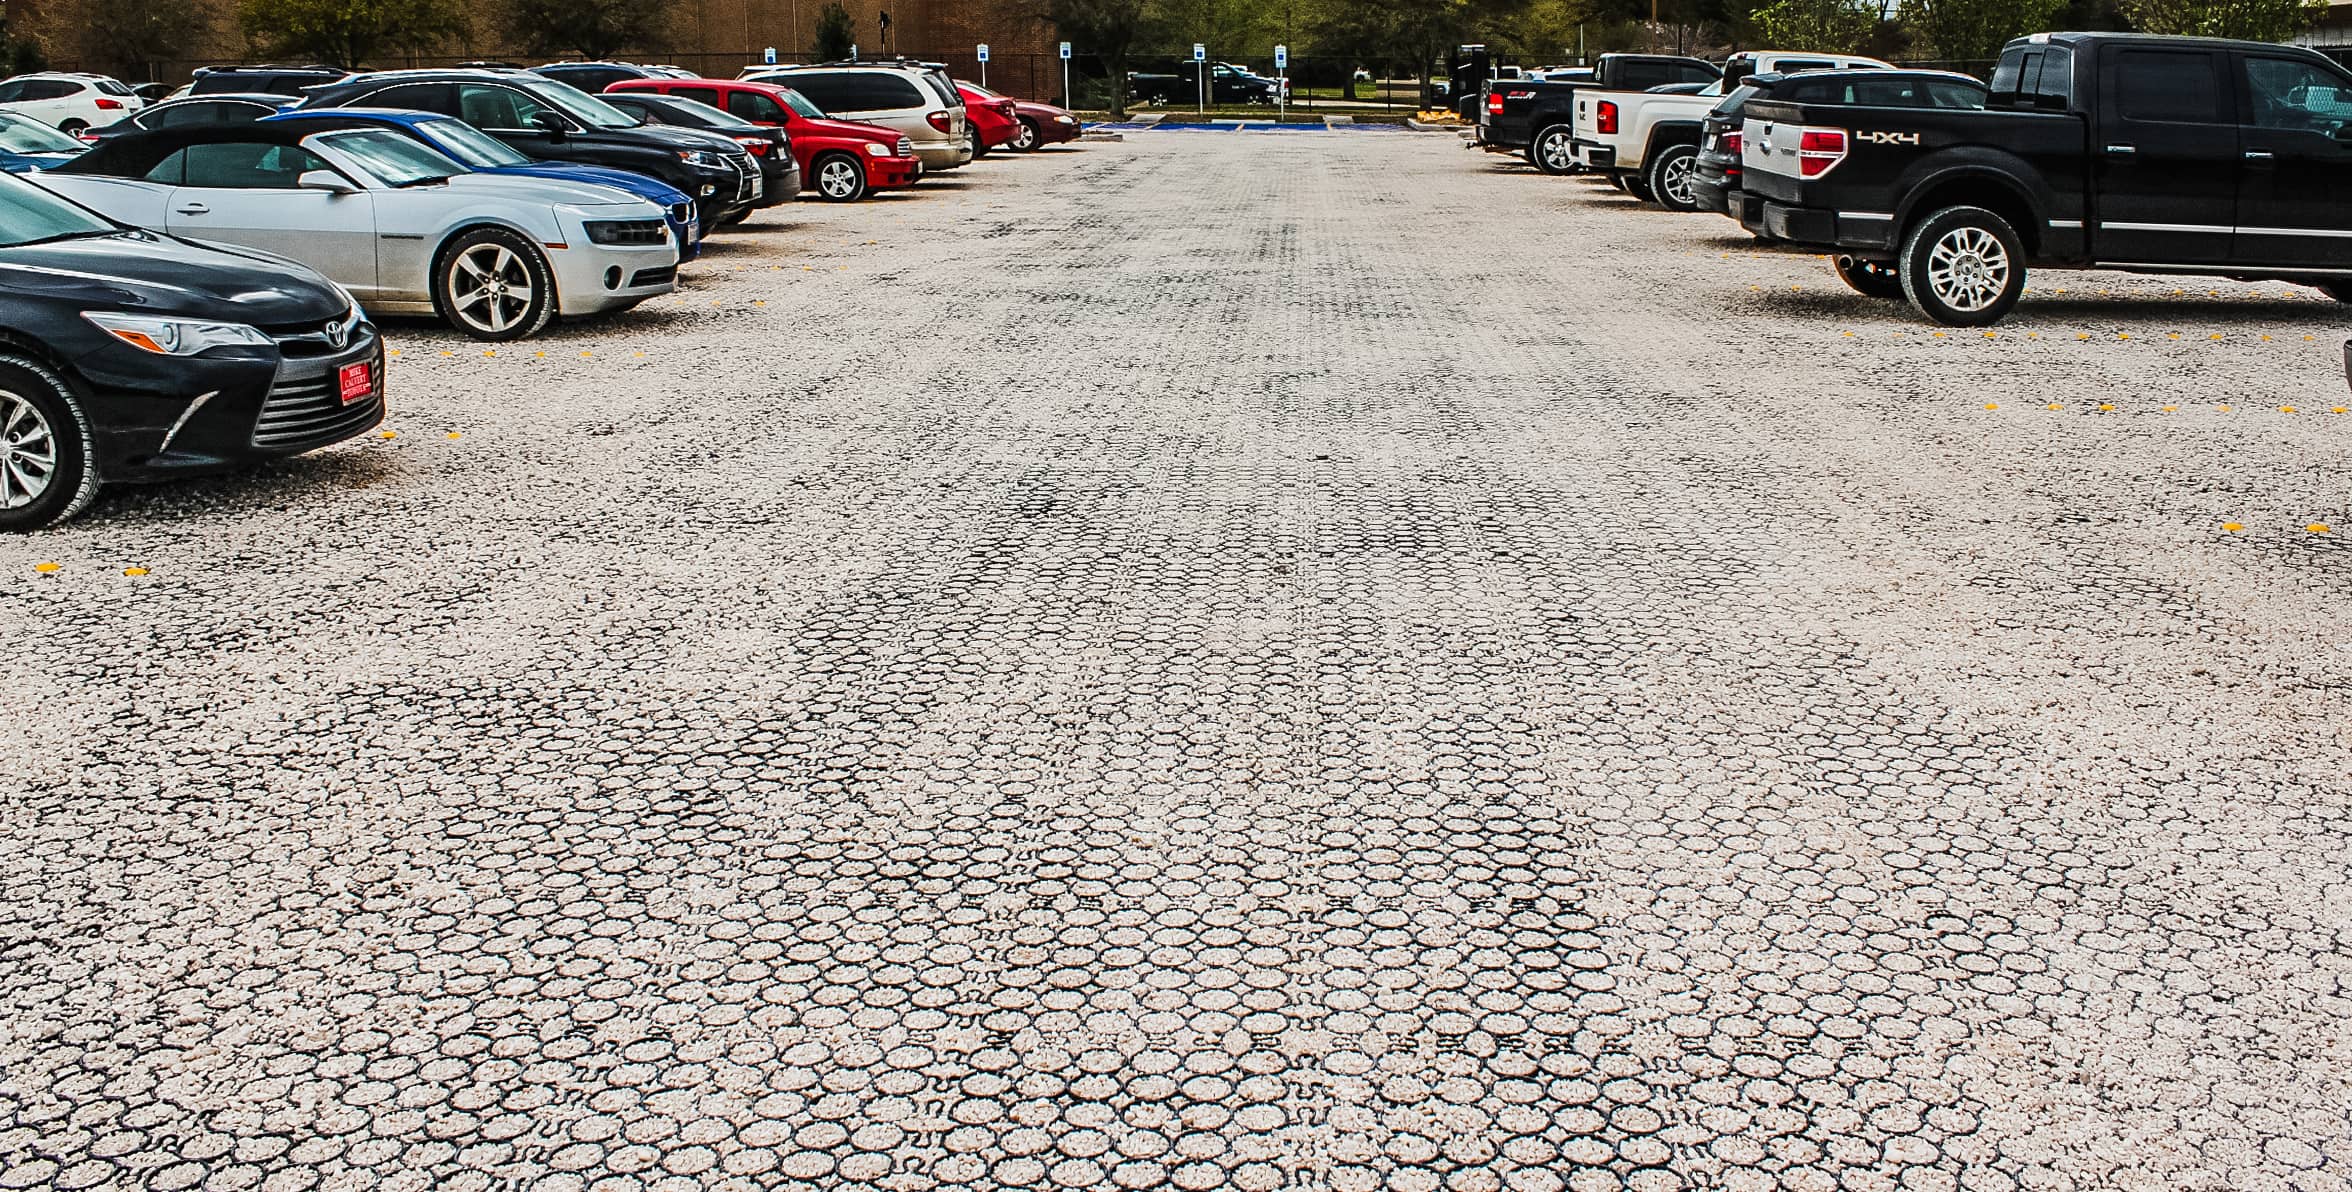
- Permeable Pavers: At TRUEGRID®, our pavers are the best choice for a DIY pathway because they’re incredibly easy to work with and have the most staying power out of any pathway material.
- Aggregates: You’re going to need coarse and medium gravel for the different layers of your DIY walkway.
- Geotextile Fabric: This fabric is a base layer that is essential for separating materials, stabilizing soils, and mitigating weeds..
- Edging (Optional): Edging material, while optional, is recommended to help maintain gravel fill and provide a visual separation between the path and the other surfaces.
- Tools: You’ll need a shovel, rake, and hand tamper or mechanical compactor to prepare the site and install the pavers properly. You may need a hand saw or heavy pruning shears, or an electric saw like a sawzall or circular saw to cut the TRUEGRID. Plus, don’t forget your safety equipment, like gloves and safety goggles.
Keep an Eye on the Weather
Weather can make or break your do-it-yourself walkway project. Installing permeable pavers requires dry conditions, so keep an eye on the forecast. Avoid working on rainy days, as wet soil can compromise the stability of your pathway and make the process far messier than necessary.
A Step-by-Step Guide on How to Build a Pathway
Now that you’ve gathered your materials and ensured the weather is on your side, it’s time to dive into the step-by-step on how to make a walkway. Each stage of the DIY walkway installation is crucial, so take your time with every step.
1. Design and Plan Your Walkway
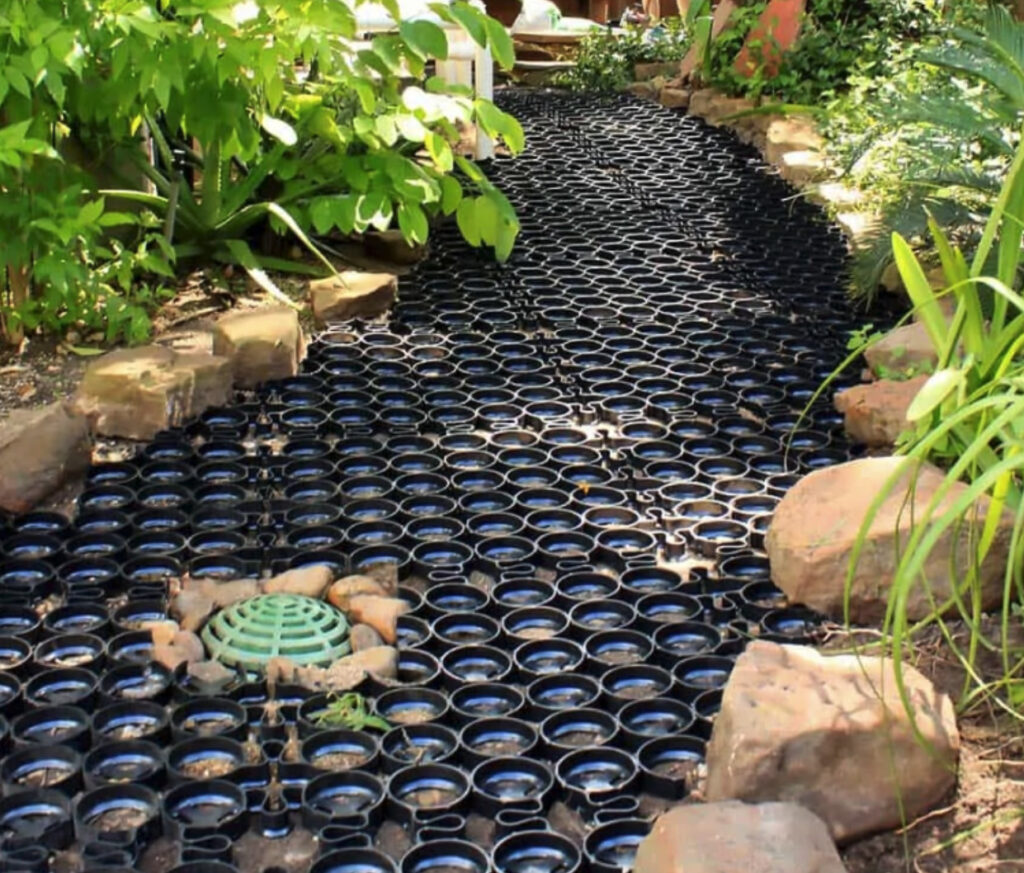
Start by sketching your walkway’s path, considering the width you’d like and any curves or turns. Mark your design on the ground with stakes and string, ensuring it aligns with your design. During the planning phase, you should also figure out the depth of your base layer.
2. Prepare the Site
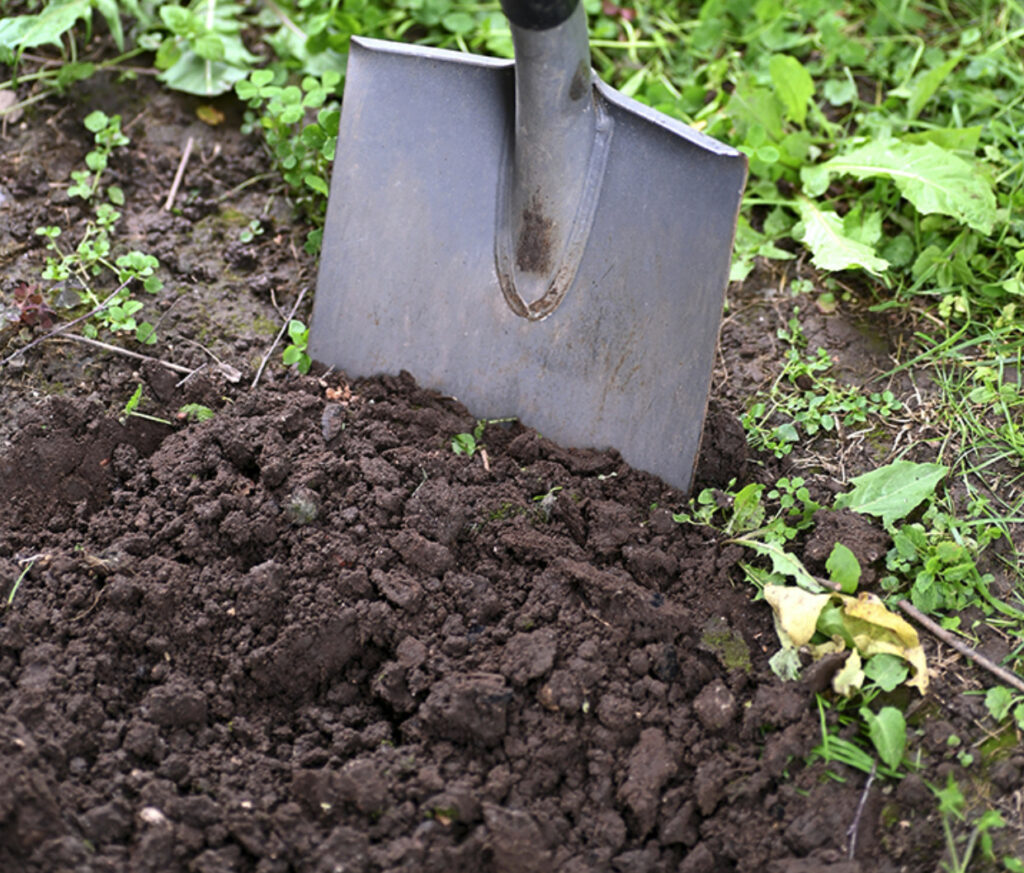
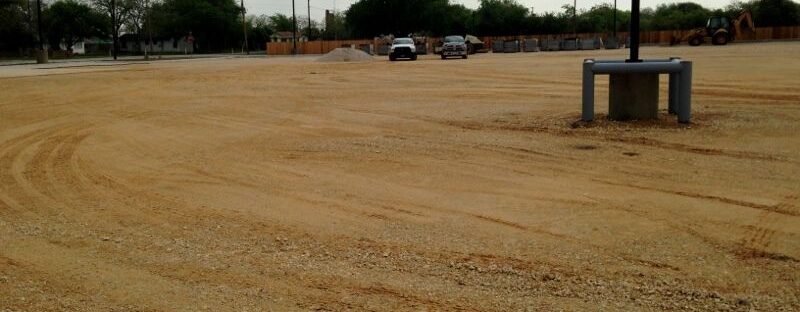
Remove any grass, rocks, or debris from your marked pathway. Dig down to a depth of around 3 to 10 inches to create room for your gravel base, and allow enough depth for proper drainage and paver installation. Level the soil as much as possible, and make sure the surface slopes slightly to direct water away from your home. The excavated area should be slightly larger than the planned walkway surface. Compact the soil with a hand tamper plate compactor.
3. Install the Geotextile Fabric
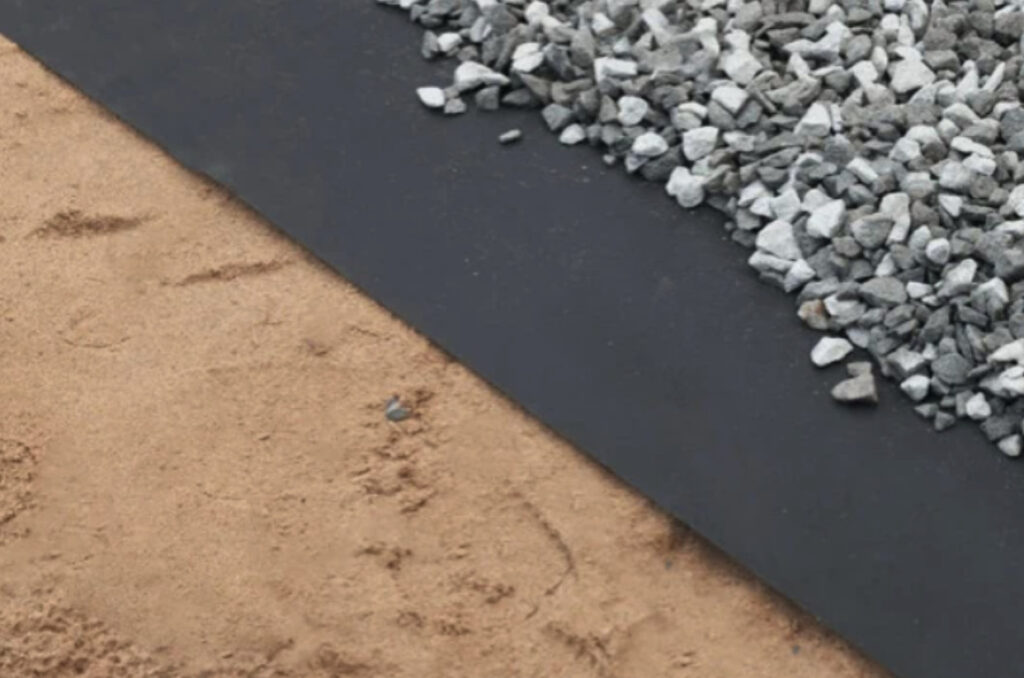
Lay the permeable geotextile fabric (landscape fabric) across the entire pathway area and cut it to size. This layer prevents the gravel from sinking into the soil below, and will enhance the stability of your pavers and improve drainage. You may want to pin the overlaps and other areas of the fabric with sod staples or nails with washers.
4. Lay and Compact the Base Layers
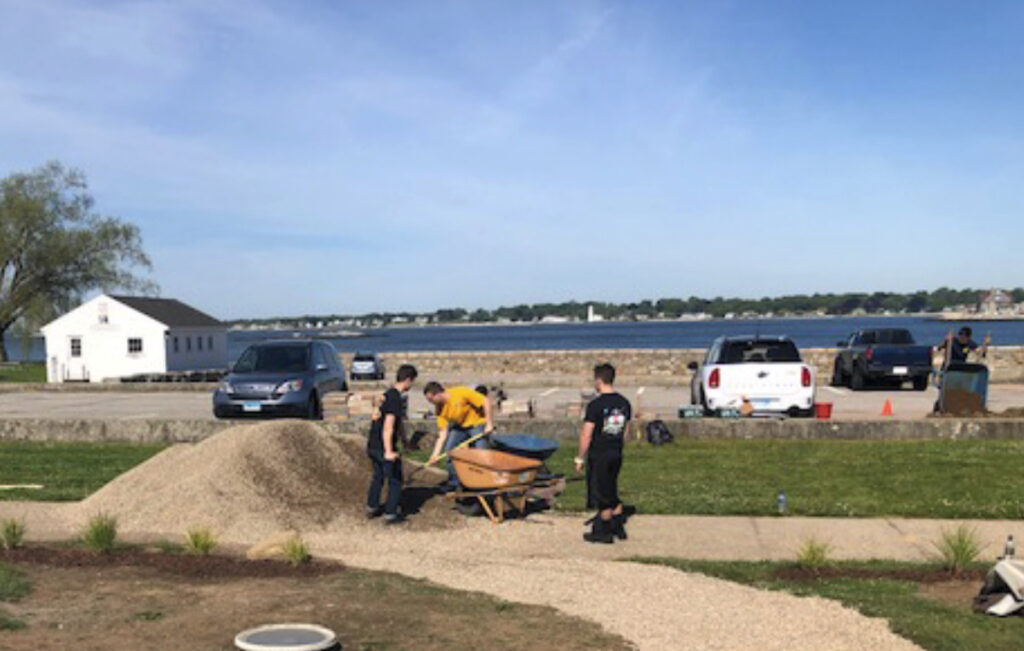
Pour a layer of coarse gravel over the geotextile fabric and use a compactor to press down the gravel firmly, to create a solid, level base. Repeat this process with progressively smaller and smaller gravel, ensuring each layer is compacted thoroughly before moving on to the next.
5. Lay the Pavers
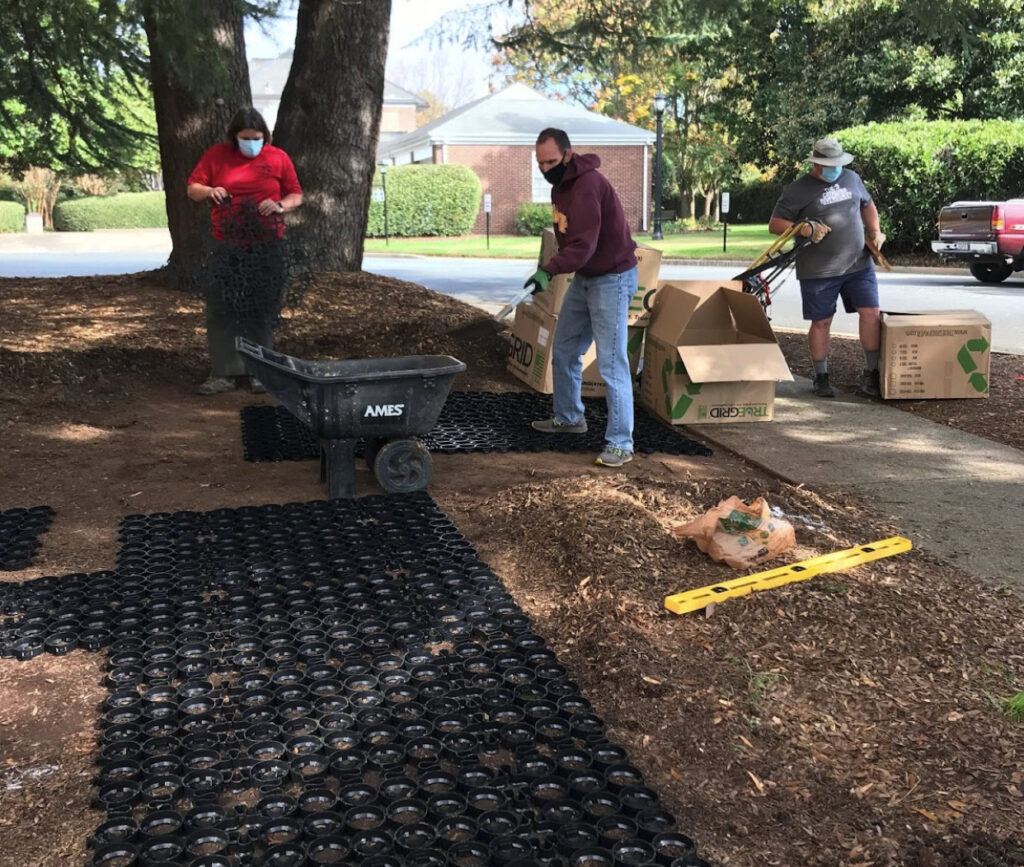
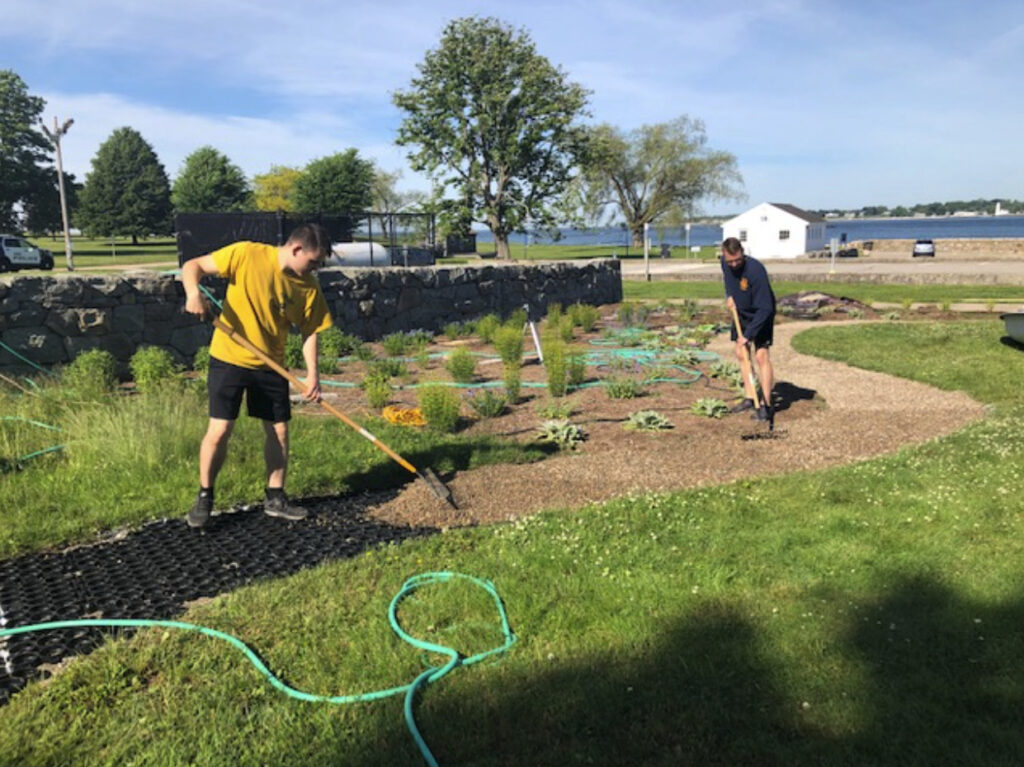
Place your permeable pavers directly on top of the compacted base layer, and fit them snugly together. Connect pavers when possible. Cut the pavers to fit the area or when curves are needed.
6. Fill the Pavers
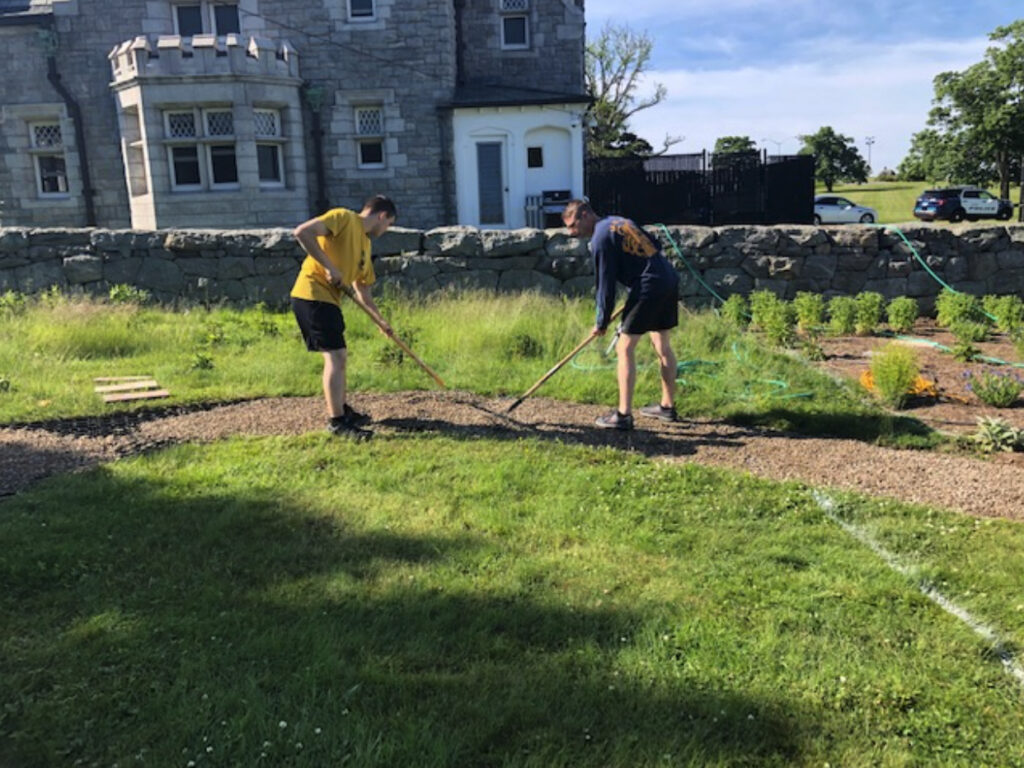
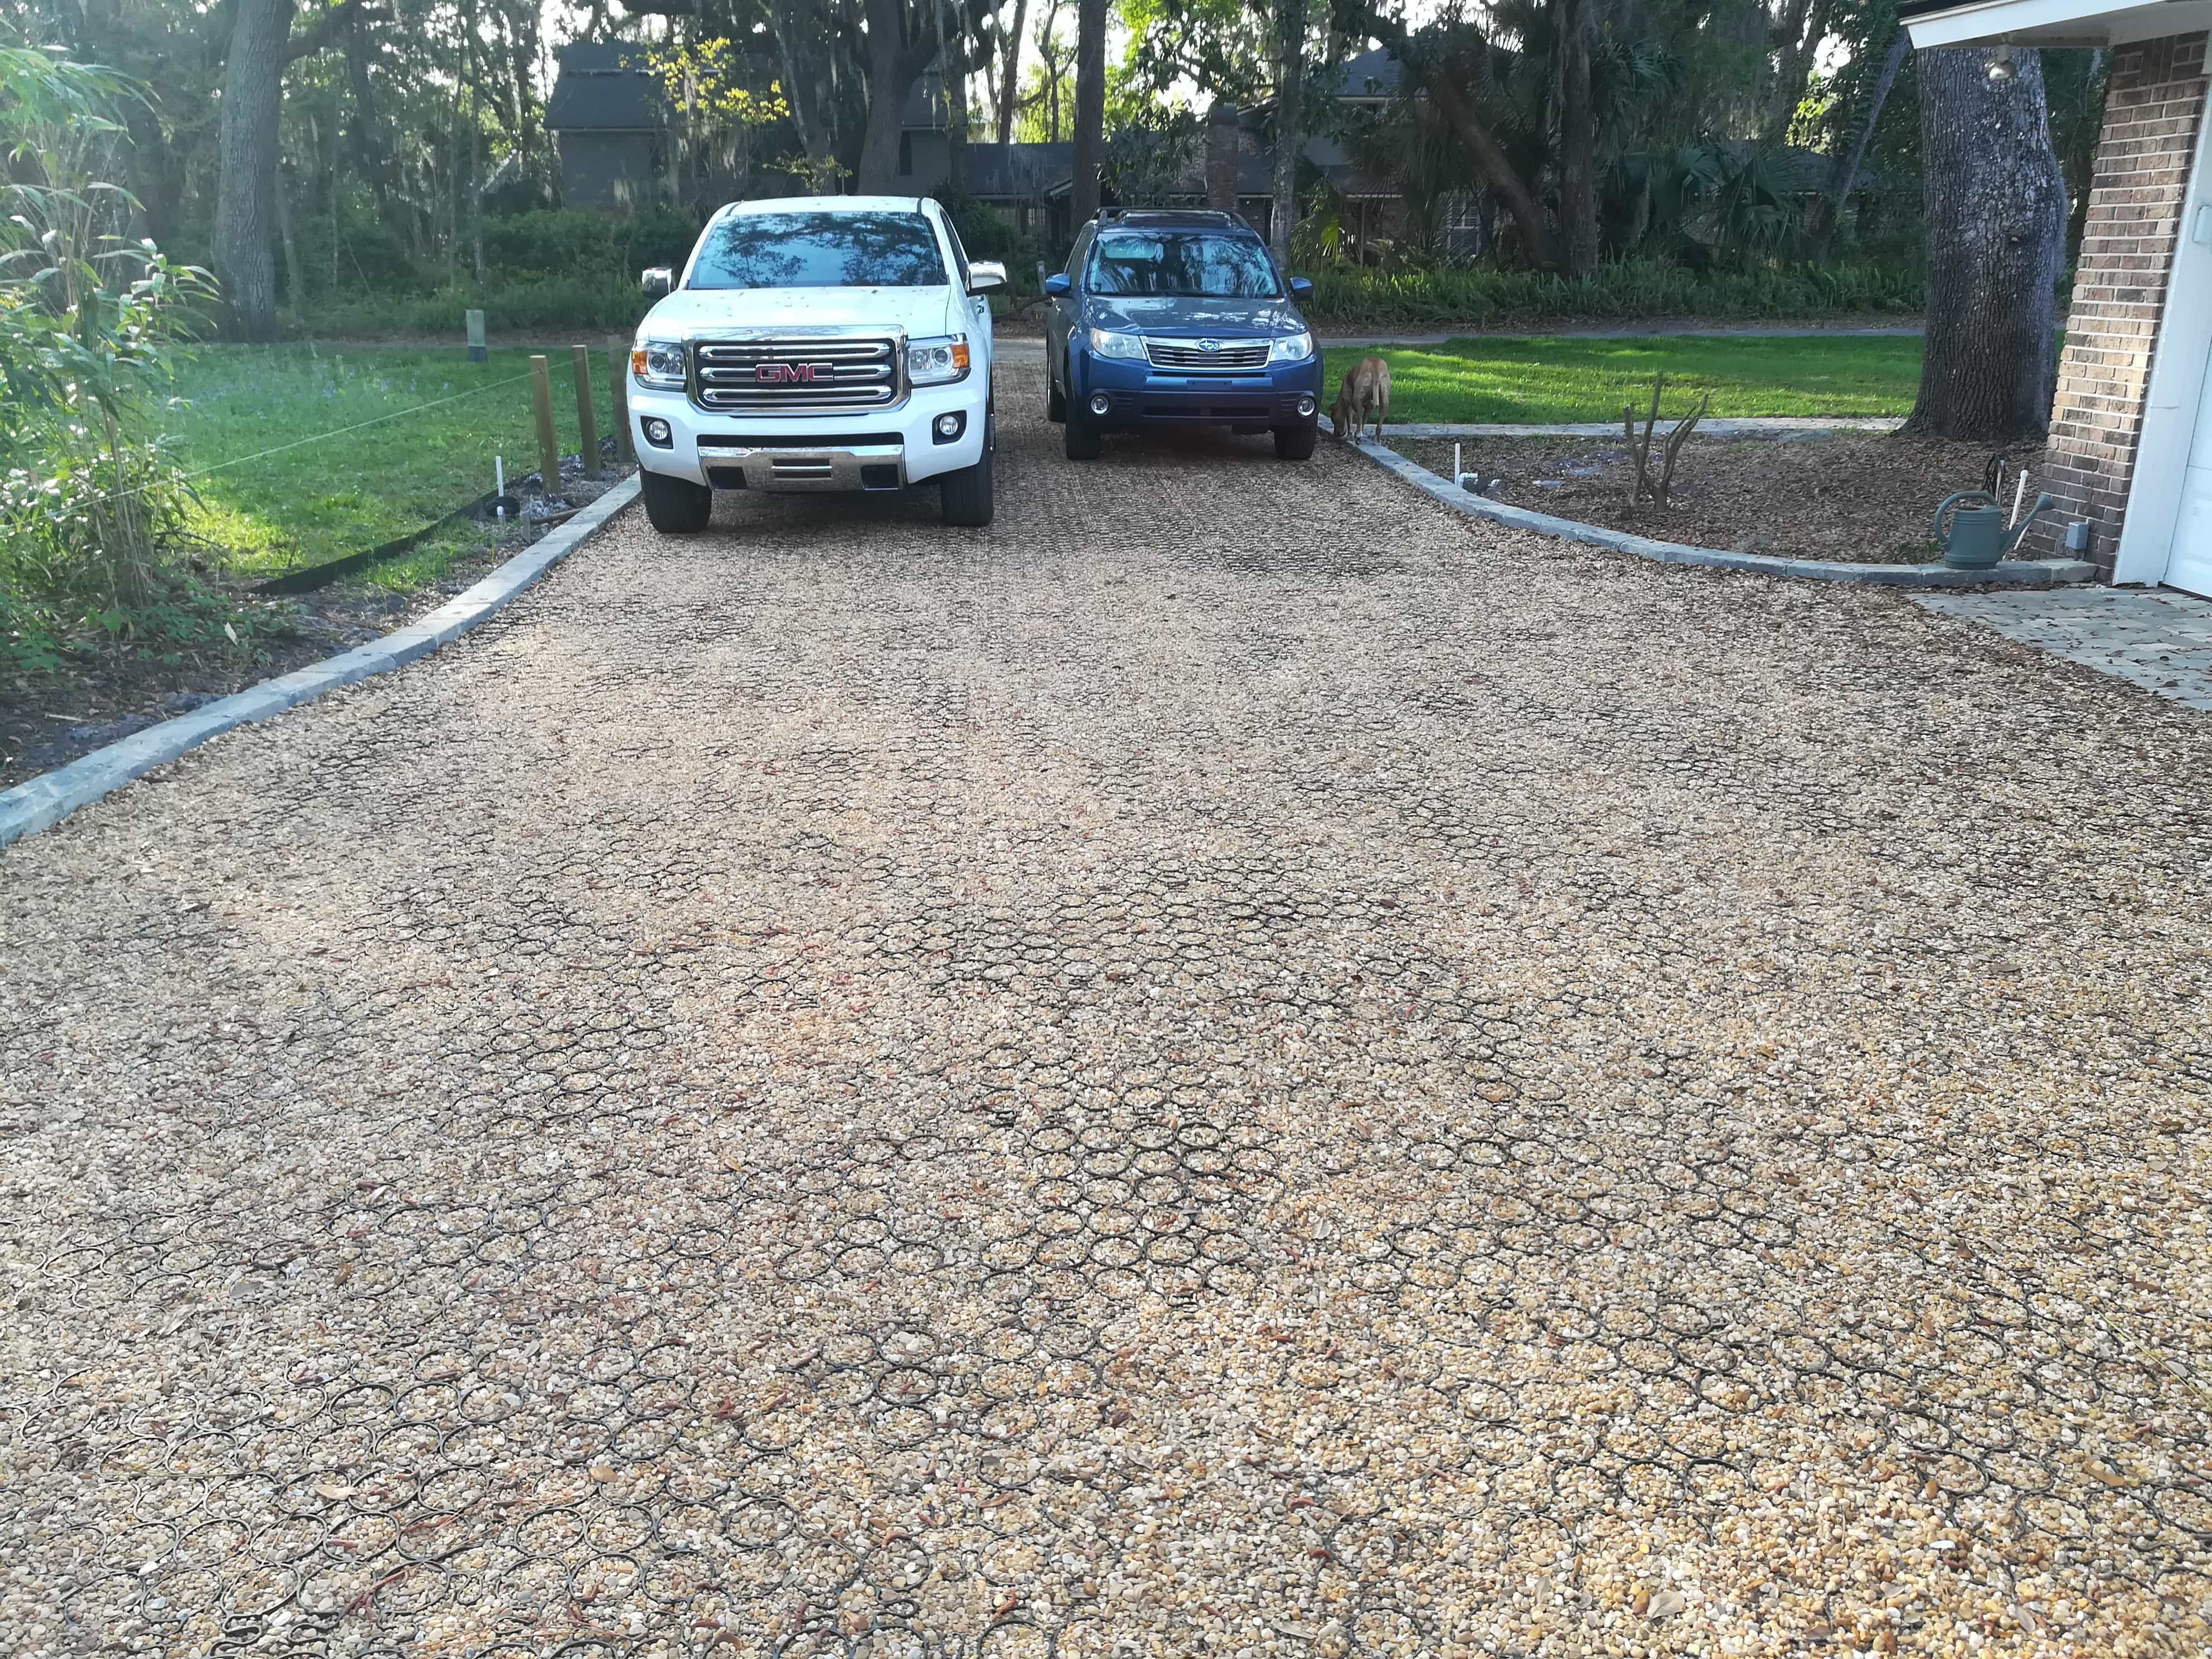
Fill the spaces within and between the pavers with angular stones or gravel of your color choice. Keep infill level to the top of the pavers – do not overfill. Your DIY pathway is complete!
How to Solve Common Challenges in a DIY Walkway Installation
Even with careful planning, challenges can arise during your DIY walkway installation. Here are some common issues and how to solve them.
Uneven Surfaces Post-Installation
Make sure you keep everything super level and compacted during the sub-base installation. Consistently check for evenness as you lay each layer of gravel to prevent an unsteady walkway. If you end up with uneven surfaces, you may need to redo some layers or add more to the topmost layers.
Water Pooling
Although TRUEGRID is permeable, extremely heavy rains may be too much for the area to handle. You can help this by grading the path slightly away from your home, and consult a professional if you’re unsure about your DIY drainage design.
Weed Growth Through Pavers
Using a high-quality geotextile fabric and quality open-graded stone for the base can minimize weeds. If worse comes to worse, regular maintenance will keep your walkway looking pristine.
Prevent Clogging
Keep debris, leaves, and other sediment from building up on your path. Plus, using a geotextile fabric between the aggregate base and soil will prevent sediment from seeping through.
For more helpful information, check out our previous article on How to Keep Gravel in Place on Driveways and Walkways.
Simplify Your DIY Walkway Installation with TRUEGRID®
Are you ready to create your very own DIY walkway with permeable pavers? With TRUEGRID® pavers, it’s easier than ever to build your own walkway. Our paver system’s user-friendly design, combined with the right preparation, will ensure that your pathway looks great and lasts for years. Contact us today to learn more!
While you’re here, are you thinking about installing permeable pavers in your driveway?
Check out our comprehensive guide on planning and budgeting for a DIY driveway.
