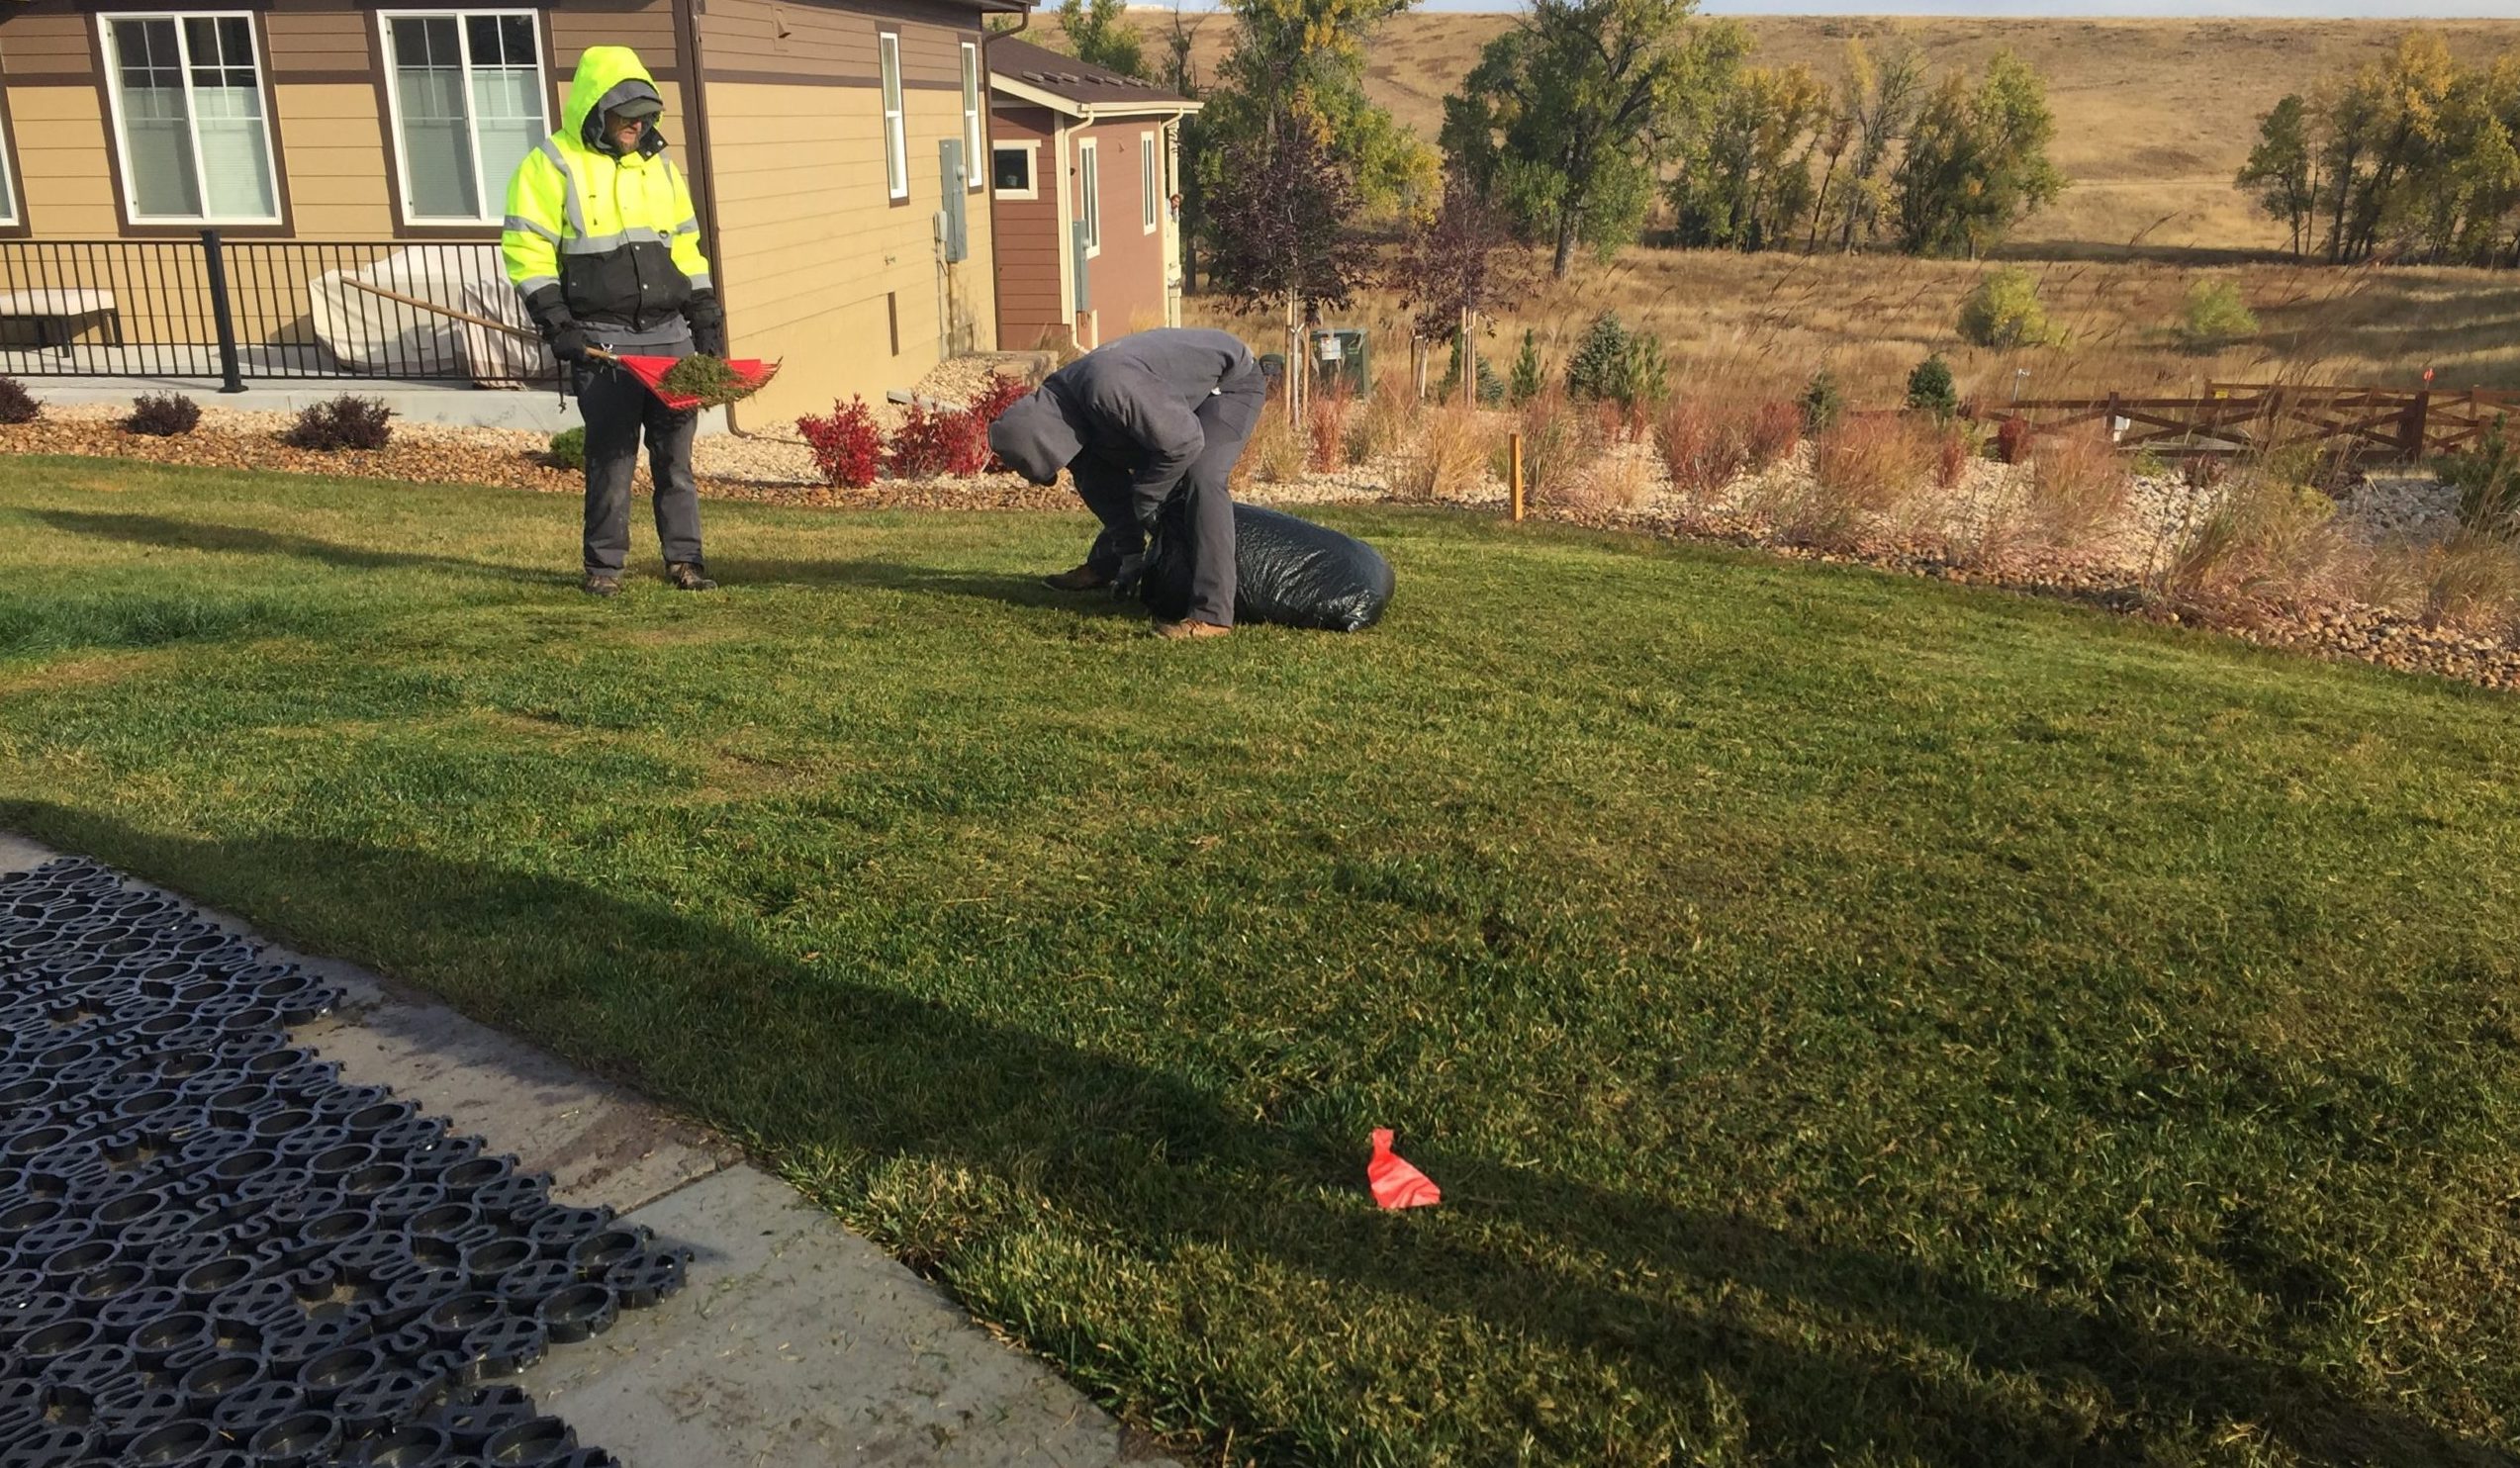
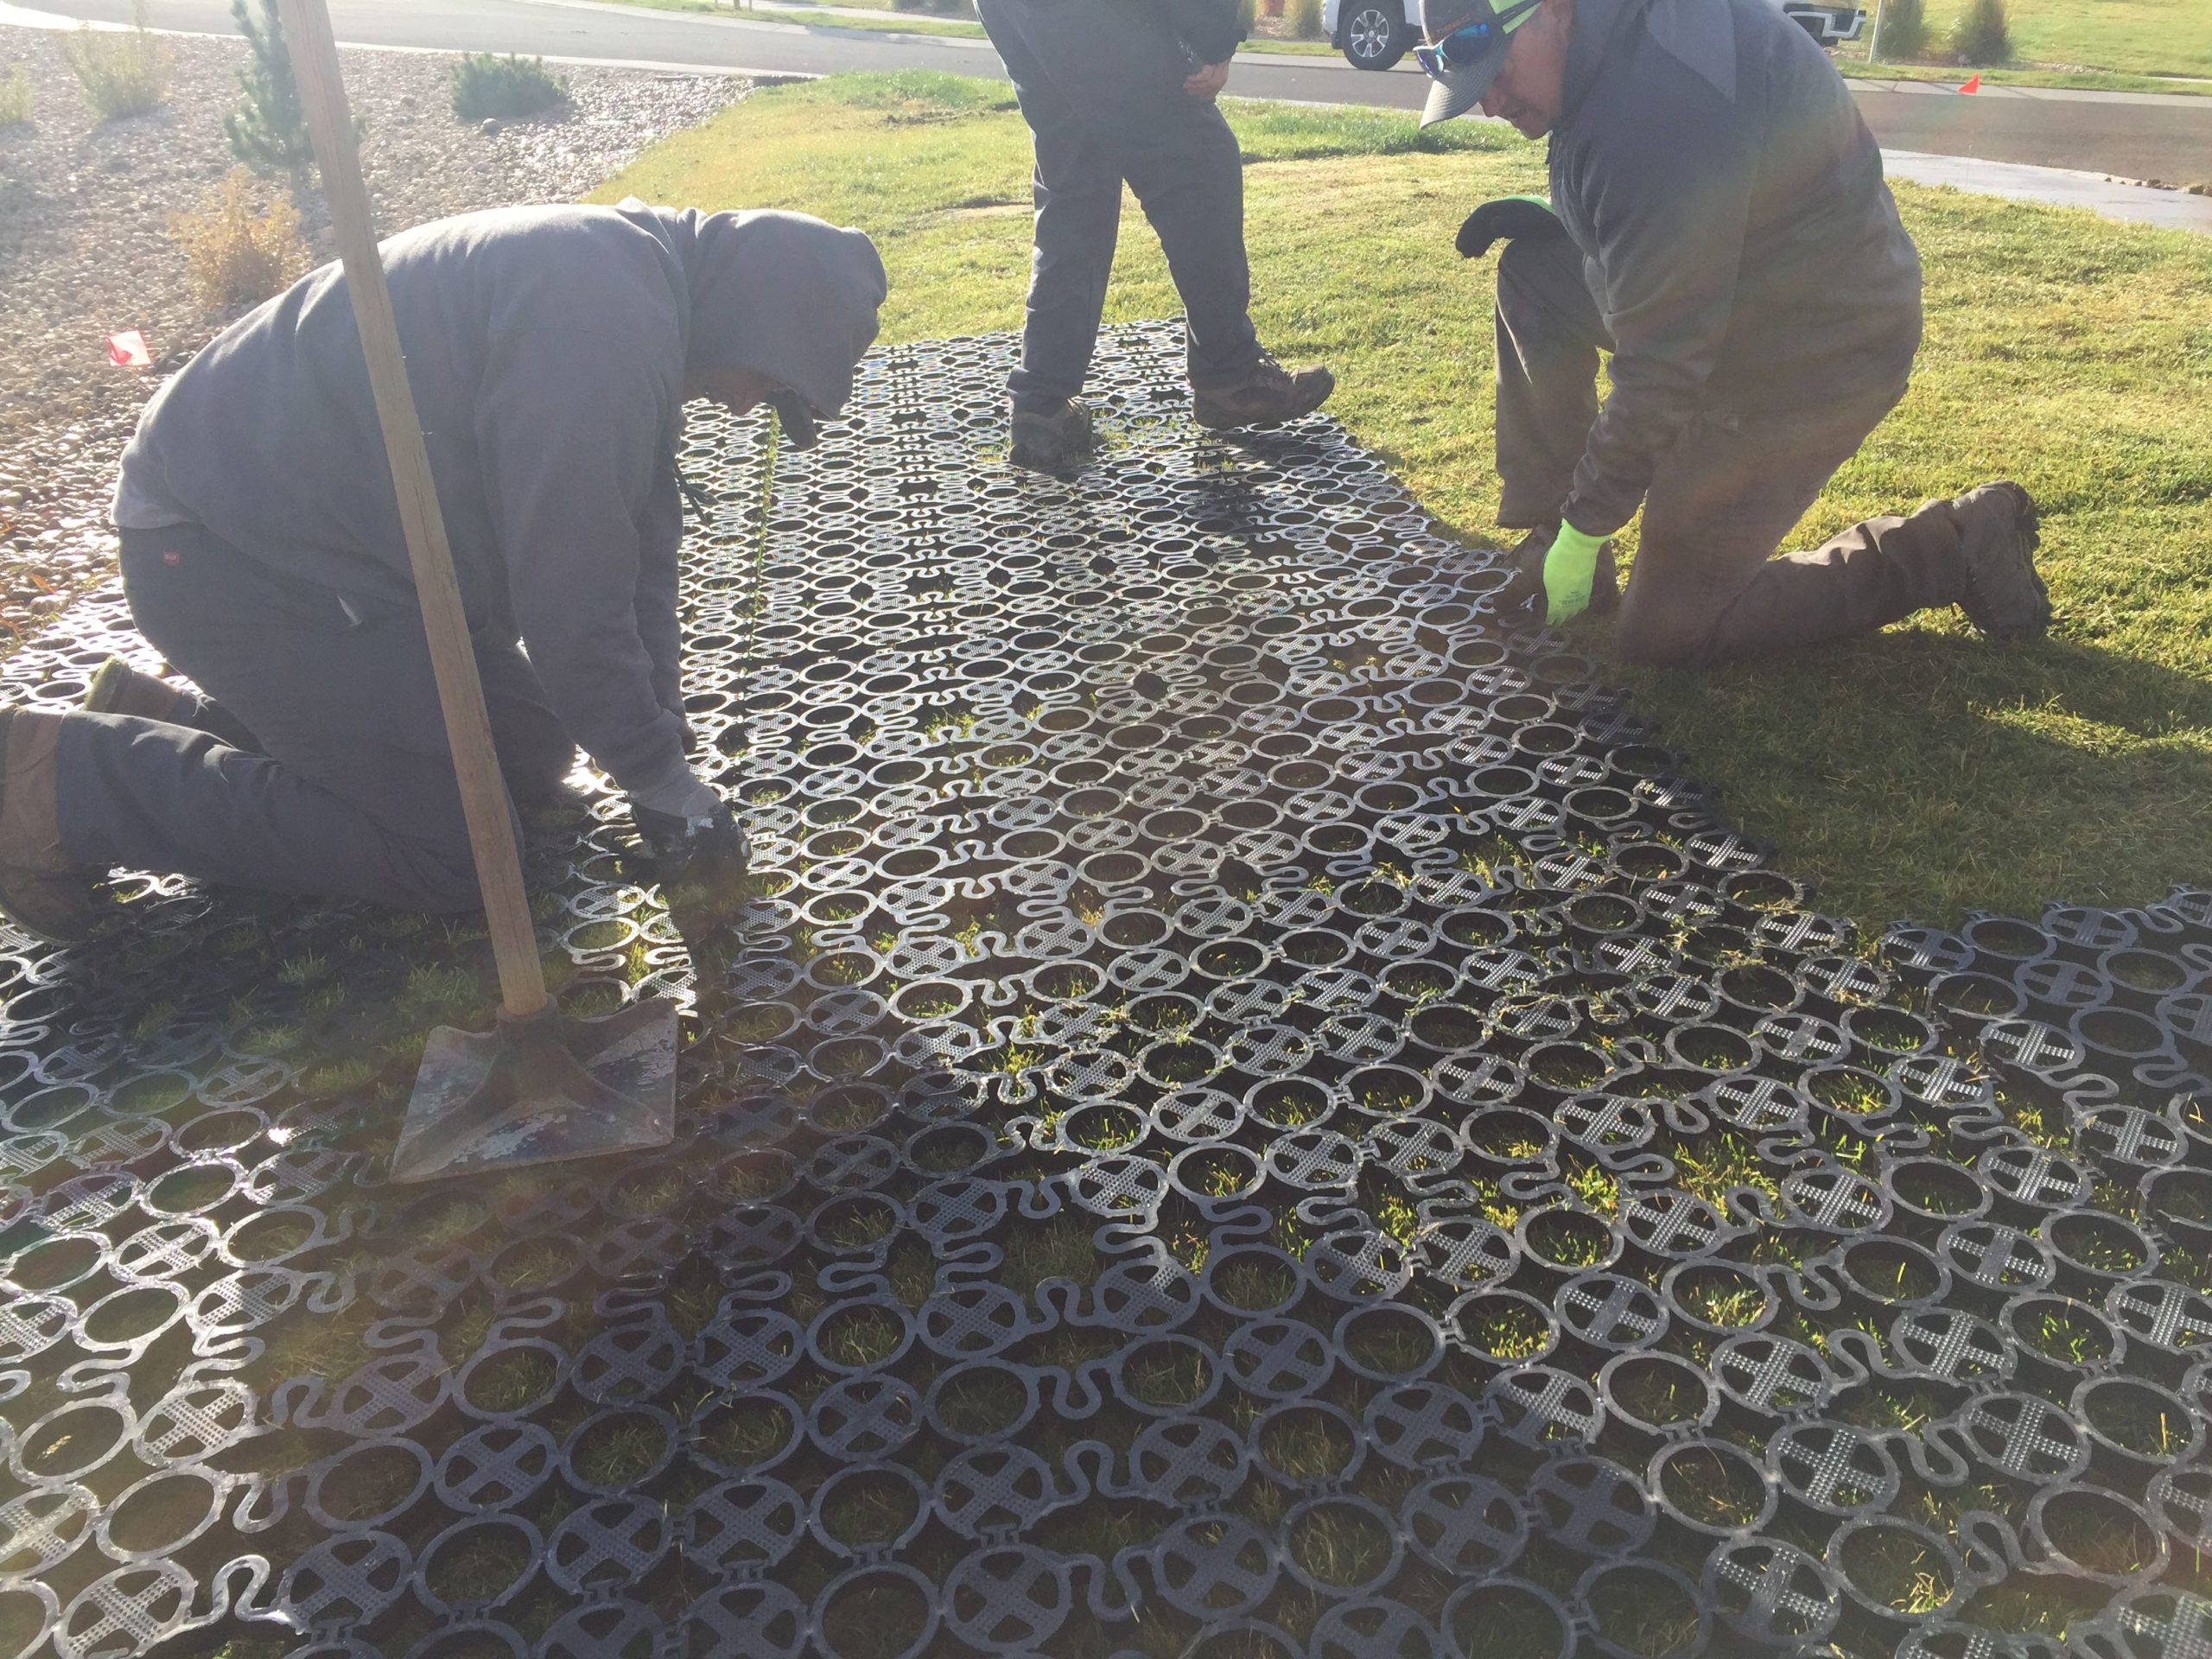
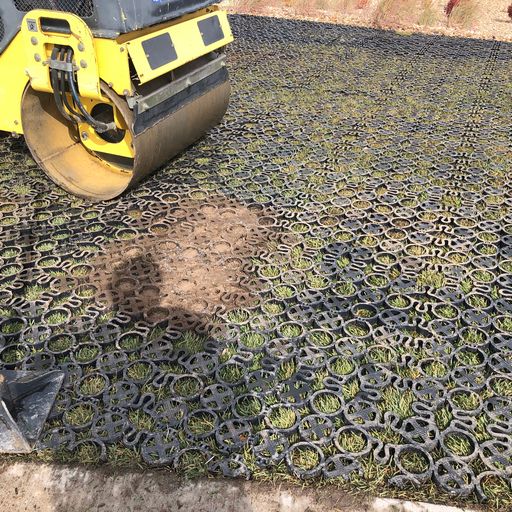
How to Install TRUEGRID® ROOT
Download Install Guide Technical Specs Submit Your DesignBack to installation guides
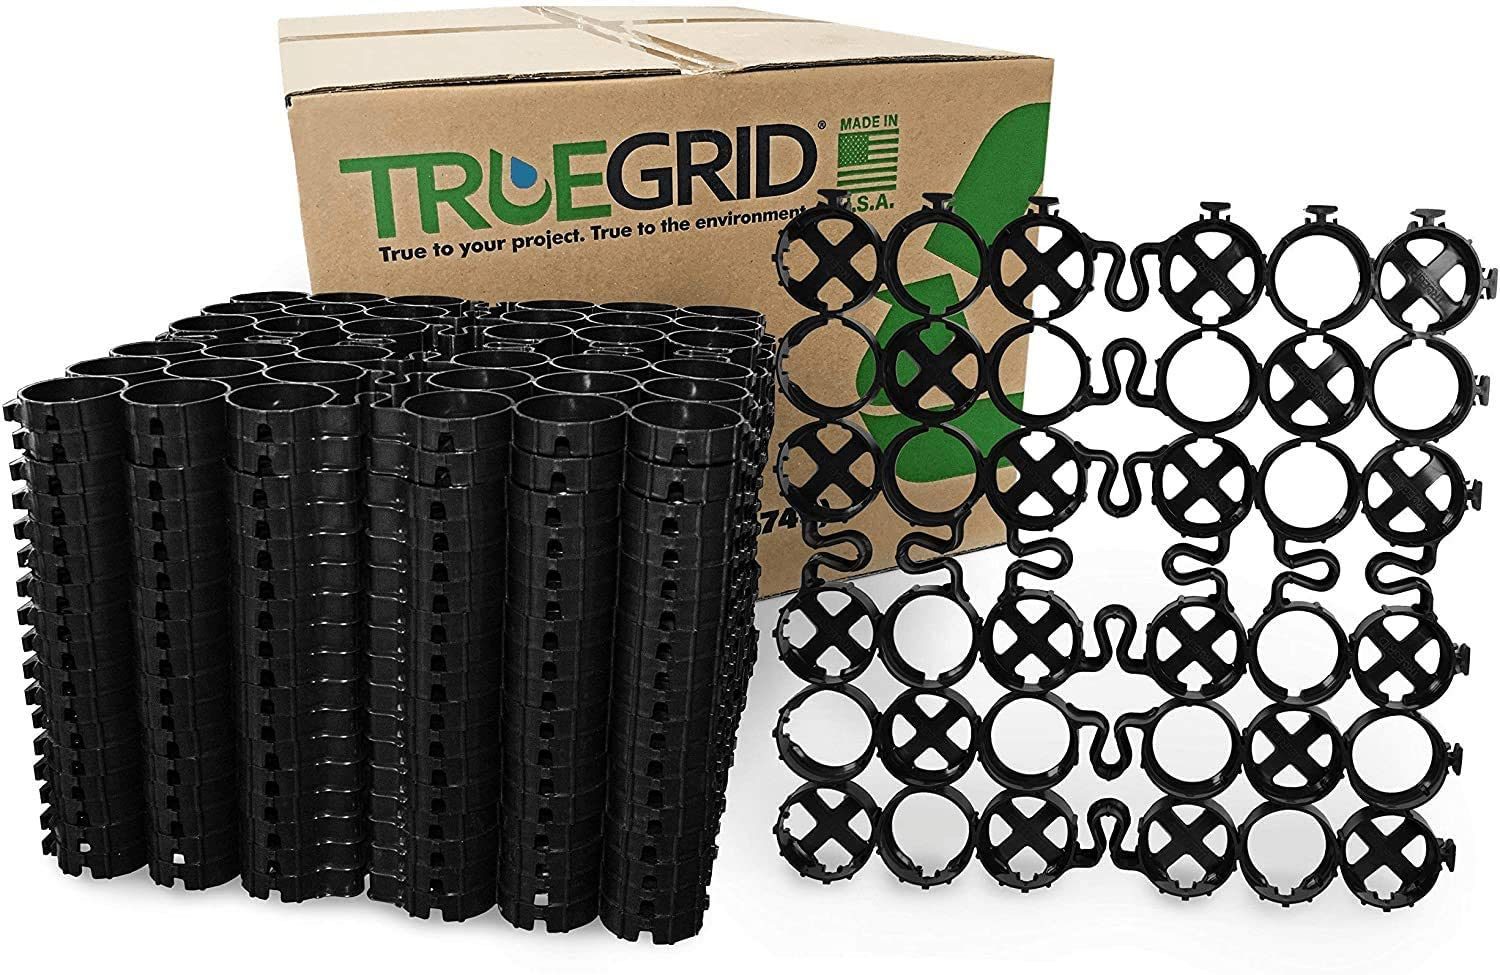
Step 1
Before you begin: Materials & Equipment
Materials checklist
Equipment checklist
__ Compaction equipment: to compress TRUEGRID ROOT™ into existing grass.
__ Example: Heavy roller, plate compactor, and hand tamper* for smaller areas . Heavy roller is quickest for large areas.
__ Water: Access to running water or water tank for remote projects
__ Circular saw or reciprocating saw (if needed for trimming edges or around existing objects/trees on lot)
__ Sod staples/U-Pins and a hammer (for reuse of trimmed ROOT pieces and some edges or transition areas)
Step 2
Before you begin: Site Prep
- Level out any deep potholes or ruts, if needed. TRUEGRID ROOT will flex to conform to most surface unevenness that exist.
• Fill in and compact infill for any existing ruts or pot holes in the area.
• Mowing recommended in most cases. Mow to the lowest setting the grass species can withstand to remain healthy.
• Ground is best to be sufficiently saturated at the surface layer for a softer grass surface before compressing TRUEGRIDROOT into place. - Outside temperature and ground temperature – to a depth of at least 1-inch / 2.5cm – should be above freezing and above 55°F
(13° C) for clay soils.
Step 3
Installation steps
- Install TRUEGRID ROOT™
• Start in corner of site with female tabs on grid facing out. Line up grid and connect next grid section with empty cells facing down. TRUEGRID ROOT™ w/the most surface area should be facing up. TRUEGRID will typically go down at around 1000 SF per man/hr.
-
- If included on project, position and insert ROOT STRIPE
delineators for parking marking or other identification. Connect
all STRIPE snap-locks to ROOT cells by pressing on the surface
of the STRIPE.
- If included on project, position and insert ROOT STRIPE
Step 4
2. Compress TRUEGRID ROOT™ into sufficiently watered grass with heavy roller or other equipment* to allow ROOT to cut into the top soil/grass.
3. TRUEGRID ROOT™ can be trimmed to fit around trees or any other existing objects that need to remain on grass lot TRUEGRID ROOT™ can be trimmed to fit along parking lot edges, if needed.
-
- Re-compaction may be needed after trimming/cutting.
- Hammer sod staples/u-pins to secure trimmed pieces to adjacent pieces when built-in connectors cannot be secured or when edges do not rest flat to the grade/grass surface.
*Different soil compositions and grass species may require different compaction equipment or a combination of equipment: Rollers, plate compactors, or hand tampers.
Note: This installation guide and installation is not recommended for ROOT on St. Augustine grass and other horizontal stolon (crawling) type grasses.
Completed Installation
TRUEGRID Specs
Technical Specifications
Looking for product specs, cut sheets and CSI documents? Visit our Technical Info page to download PDFs, BIM objects and CAD files for all of our products.
Submit your design
Need help with your project?
Work with our knowledgeable and experienced team. We're here to help you specify the right TRUEGRID product for your project and assist with your site specific design ...from surface to subgrade.